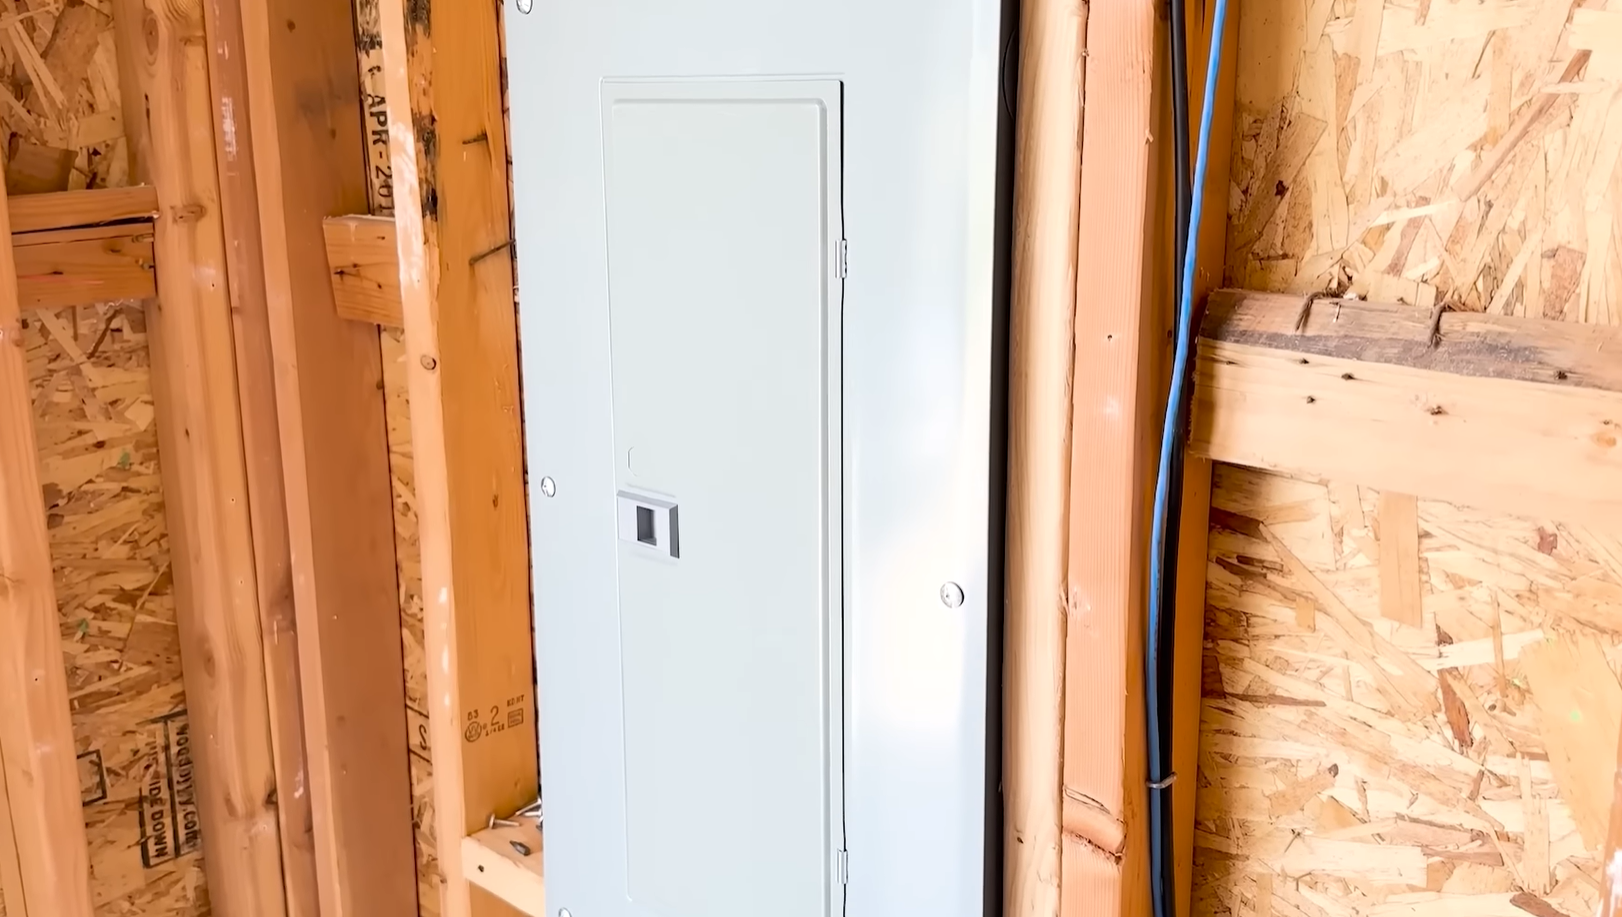
About This Project Nils demonstrates the full process of installing a 70-amp sub panel in a garage workshop conversion, covering space requirements, panel and cable selection, conduit routing, wiring, connection to the main panel, and final torque verification and inspection.
Project Video Video Description ▶ 0:00 Introduction to the sub panel installation project and safety/disclaimer notes about working with a licensed electrician and pulling permits. ▶ 0:50 Review of space requirements: 36 inches clearance in front, 30 inches width, and 78 inches height for the sub panel. ▶ 1:55 Discussion of selecting the sub panel brand, size (20/40 panel), and amp rating (70 amp box rated for 125 amps) based on intended use. ▶ 2:53 Planning the cable type and gauge: four-wire setup (two hots, neutral, ground) and decision to use THHN wire in conduit for the exterior run. ▶ 3:59 Using the Southwire wire fill calculator to confirm one-inch EMT conduit is sufficient for the wire count and gauge. ▶ 6:45 Beginning the physical installation: measuring the sub panel placement, checking main panel proximity, and marking the location. ▶ 8:17 Drilling through the exterior wall (stucco, OSB, wire mesh) to route conduit from the outside to the interior sub panel location. ▶ 9:16 Fitting the sub panel into the framed opening, installing connectors and chase nipple, and preparing for wire feeding. ▶ 11:40 Feeding the two-gauge wires through the conduit, stripping ends, and connecting them to the 70-amp breaker and bus bars inside the sub panel. ▶ 14:01 Replacing the 20-amp breaker on the main panel with a 70-amp breaker and powering on the sub panel for the first time. ▶ 16:28 Torquing all lugs and screws to manufacturer specifications (36, 20, and 50 inch-pounds) using a torque screwdriver, then performing a final inspection.