Renodar
Projects
Profiles
Post Project
How to Install Roof Shingles — Renodar
Home
Roofing
How to Install Roof Shingles
Roofing
Personal Project
How to Install Roof Shingles
Photos
Before
About This Project
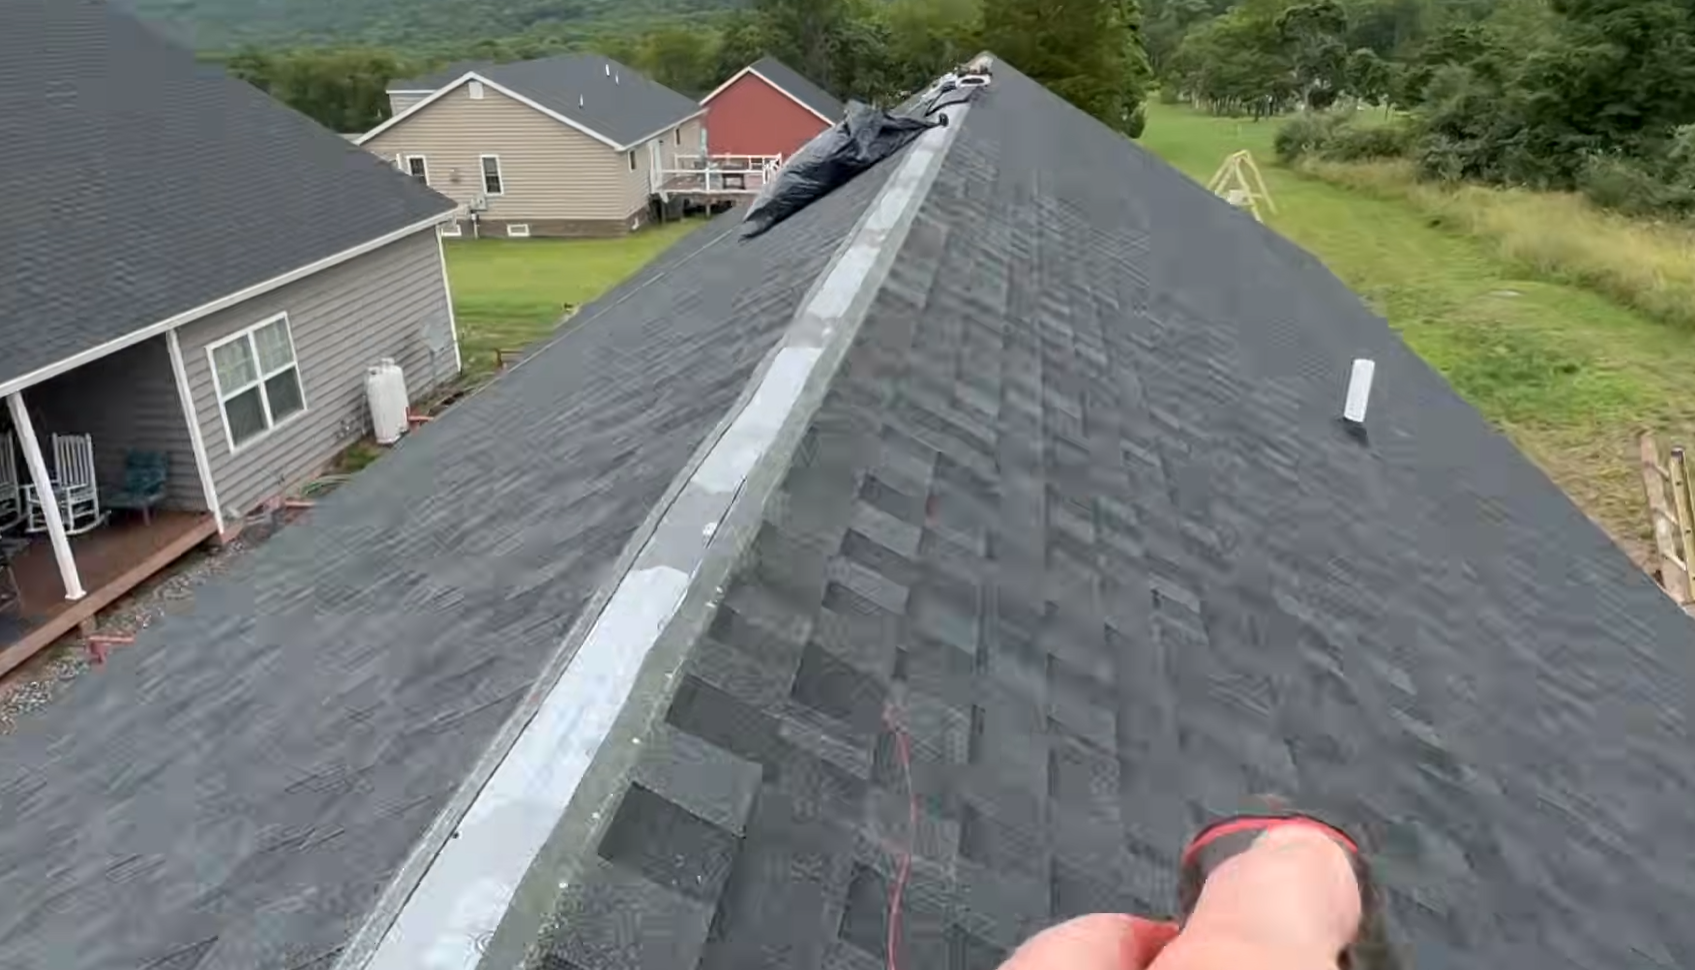
A complete DIY guide to re-shingling a roof, covering underlayment installation, ice and water shield, drip edge, starter strip, shingle installation, pipe boot, ridge vent, and cap shingles, with safety tips and cost breakdown.
Project Video
Video Description
▶ 0:00
Introduction to the roof shingle installation project and overview of materials needed.
▶ 1:53
Installing synthetic roofing underlayment using a cap stapler and securing it with cap nails.
▶ 5:40
Installing ice and water shield over the plywood sheathing, peeling off the protective tape and rolling it out flush with the roof edge.
▶ 7:28
Installing the drip edge along the eaves using a coil nailer, cutting pieces to length with 10 snips, and overlapping each piece by 1.5 inches.
▶ 13:31
Installing the rake edge drip edge on the gable end, cutting it to fit the roof peak using a speed square and 10 snips.
▶ 16:38
Installing starter strip along the eaves and rake edges, chalking lines for alignment, and securing with nails every 8 inches.
▶ 26:00
Installing the first row of shingles on the starter strip, nailing on the common bond with six nails per shingle for high-wind resistance.
▶ 30:08
Cutting finishing shingles at the end of each run using a utility knife and framing square, and saving scraps for later use.
▶ 40:14
Installing a pipe boot around a plumbing vent stack using a leak stopper, sealant, and roofing nails in the flange dimples.
▶ 52:00
Installing the ridge vent and ridge cap shingles, chalking lines for alignment, and hand-nailing caps with sealant for a finished roof peak.
Tags
#diy
#installation
#roof
#shingles
#underlayment
#drip
#edge
#ridge
#vent
Comments
(0)
Log in
to ask a question.
No questions yet.
Renodar Admin
Homeowner
9
Projects
View Profile
Project Details
August 2026
23 views
0 questions
Save
Share